New “smart” air conditioners are internet-enabled allowing control anywhere via smartphone or voice assistant. Using a microcontroller, infrared (IR) LED, and several plug-and-play frameworks for the backend I was able to replicate the same functionality on my 10-year-old “dumb” air conditioner. I can now power it on/off with my voice and even turn the unit on from my phone so it is cool when I arrive home!
Major components used in this project were:
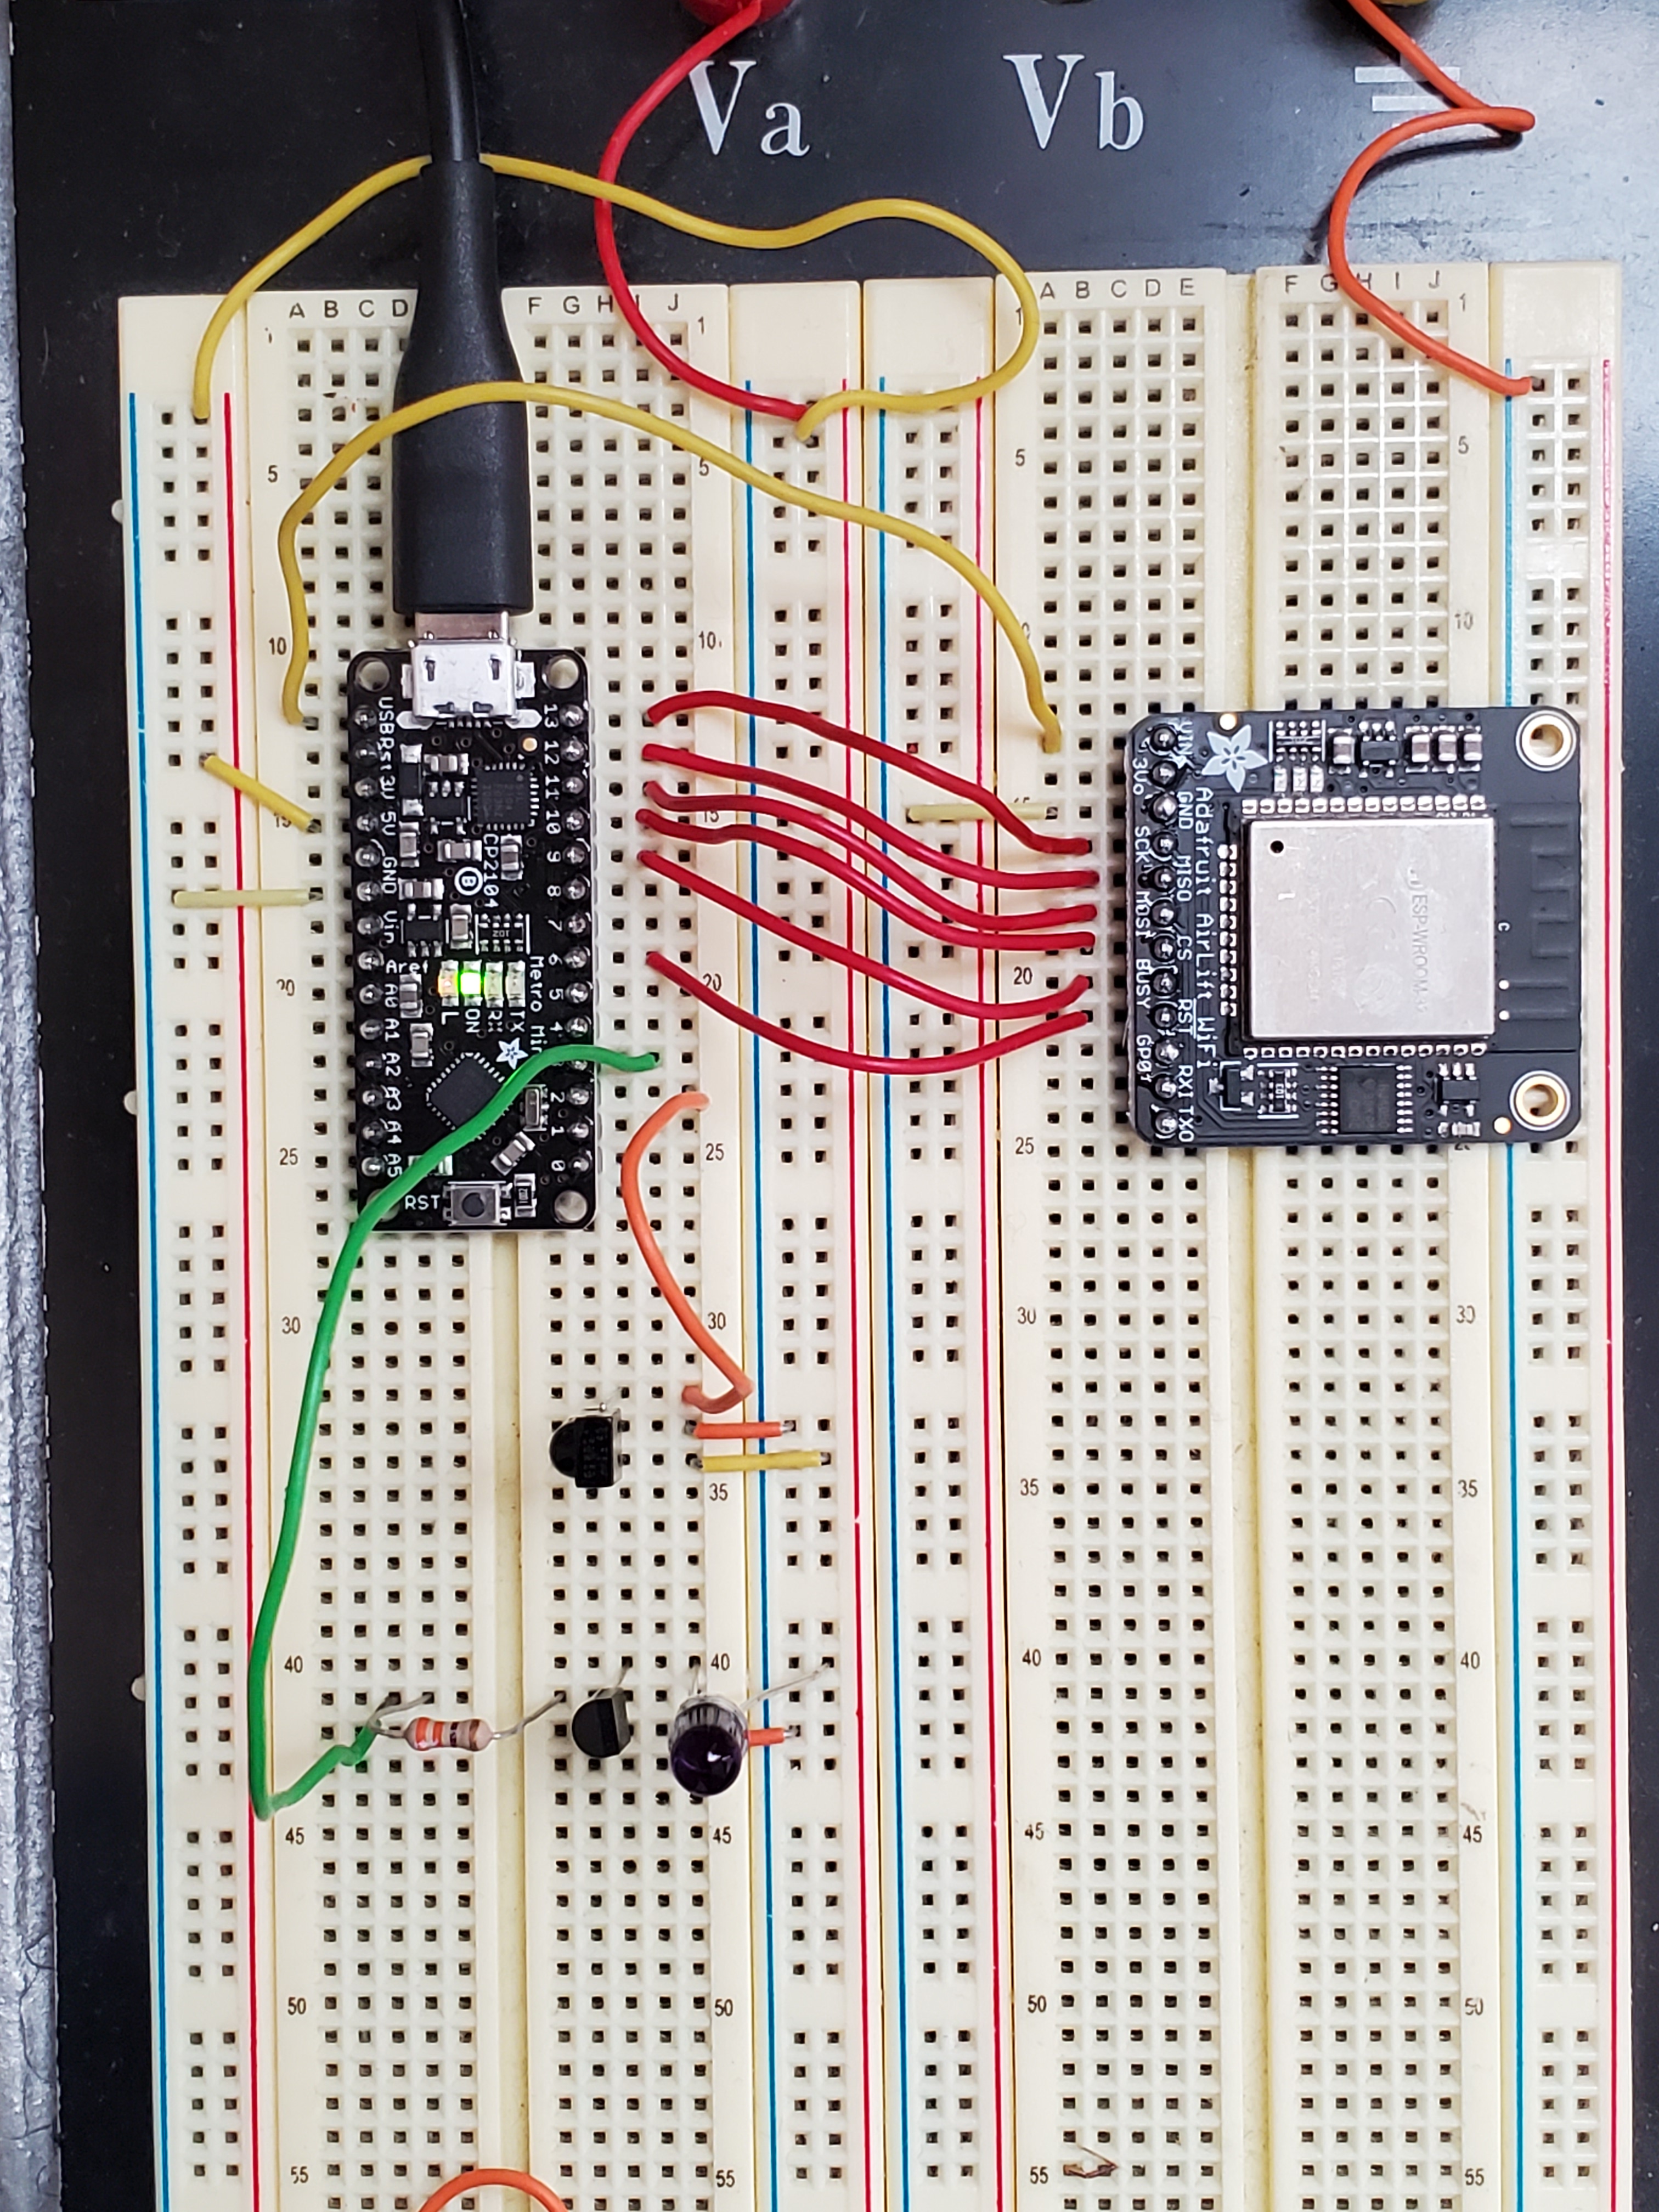
- Metro Mini, an Adafruit Arduino clone
- Adafruit’s Airlift, an ESP32 coprocessor for WiFi access
- An infrared (IR) LED and photodiode
- If This, Then That
- Adafruit IO, and its companion Arduino library
In short, the IFTTT skill for Alexa was used to relay my voice command to the Adafruit IO platform. My Arduino, connected to the Internet via the WiFi board and running the client software for Adafruit IO, sent the IR signal to power on the AC when the command was received.

Duplicating the Remote
My AC came with a small IR remote. First order of business was decoding the signal it sends when the power button is pressed so it can be played back from my custom circuit. Unlike other remotes that use a rolling code for security, the AC remote simply sends the same sequence each time.
A simple circuit with a TSOP382 IR receiver diode is connected to a digital input pin on the Arduino. Air conditioners tend to use longer control sequences than other IR devices, which was a problem for several decoder libraries I tried. I was able to decode the full sequence using this sketch from AnalysisIR.
I added a IR LED connected to one of the digital outputs through an NPN transistor to send IR signals from the Arduino circuit. The IRremote library was used to play back the raw sequence, which turned the AC on as expected!

Connecting the Remote to the Internet
I created an account on Adafruit IO and set up a Feed called “Air Conditioner”. The companion Arduino library uses the ESP32 WiFi module to connect to the Adafruit IO servers, listens for messages from that feed, and triggers a handler function in response to an incoming message.
// Set up the Air Conditioner feed
AdafruitIO_Feed *acFeed = io.feed("Air Conditioner");

void setup() {

  // Start serial and connect to io.adafruit.com
  Serial.begin(115200);
  while(! Serial);
  Serial.print("Connecting to Adafruit IO");
  io.connect();

  // Hanlder function for the "Air Conditioner" feed from Adafruit IO.
  acFeed->onMessage(handleMessage);
}
I then created a Dashboard button on Adafruit IO to publish to the Air Conditioner feed. Since I only cared about the trigger, the button sets the feed’s value to ‘1’ each time. With everything connected, I verified I could power the AC on by pressing the dashboard button.
Plumbing the Back End
Just a few more setup items were required to connect commands from Alexa to Adafruit IO. I mostly followed this guide which outlined:
- Installing the IFTTT Alexa skill and assigning a trigger phrase (I used “air conditioner”)
- Adding Alexa and Adafruit IO services to my IFTTT account
- Setting up the “Send Data to Adafruit IO” action in IFTTT.
With everything in place, I was able to use voice commands to trigger the AC unit, as shown in the above video! As always, the code is available on GitHub.